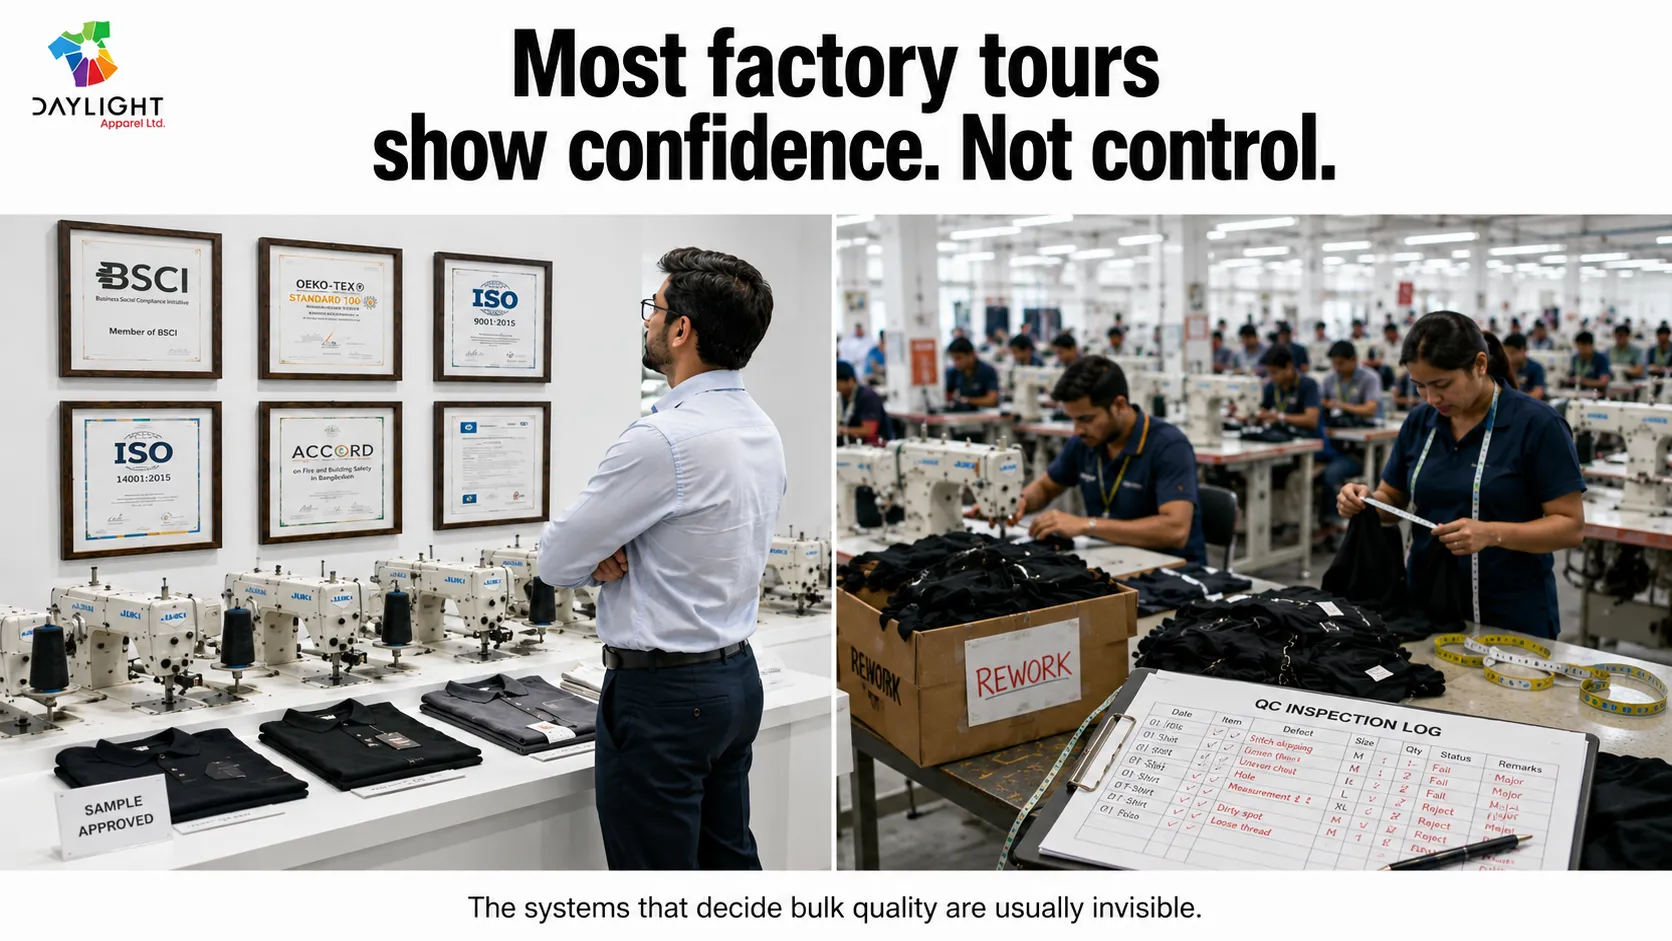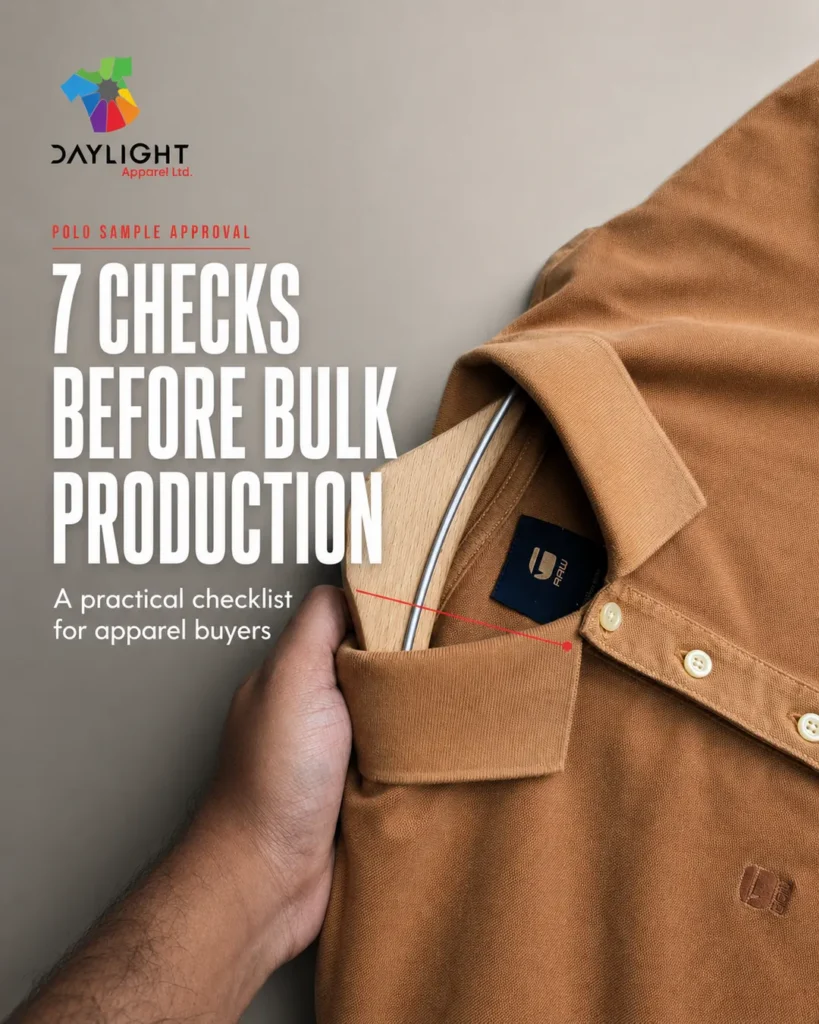
A polo sample can look perfectly acceptable on a hanger and still create problems during bulk production. The collar may lose its shape after washing. The placket may sit slightly off-center. The body length may reduce more than expected. Even a small measurement difference can become a serious issue when the order moves from one approved sample to 5,000 finished polo shirts. That is why polo shirt sample approval should never be treated as a quick visual check. It is the final opportunity to confirm that the garment, specification and production instructions all tell the same story.
What should be checked before approving a polo sample?
Before approving a polo sample for bulk production, review these seven areas:
- Measurements and tolerances
- Collar shape and recovery
- Placket and button alignment
- Stitching and seam quality
- Shrinkage after washing
- Fabric, trims and colour consistency
- Finishing and production instructions
Each point should be checked against the approved tech pack, not from memory or appearance alone.
Why sample approval matters before bulk production
An approved sample becomes the physical reference for the production team.
Daylight Apparel’s product development and manufacturing team works across sampling, materials, technical requirements and production. The sewing line follows its construction. The quality team compares production garments with it. The finishing team also uses it to understand the expected final appearance.
Therefore, unclear approval comments can create unclear production decisions.
For example, imagine that 5,000 polos are scheduled for cutting on Monday. The sample is reviewed on Friday, but nobody records the collar measurement after washing. If the collar changes shape later, the problem may not appear until a large quantity is already in production.
A careful review before cutting takes time. However, it normally takes far less time than correcting a bulk-production issue.
A practical three-day sample review example
The following is an illustrative workflow. The actual timeline and test method should follow the buyer’s requirements.
Day 1: Measure and photograph the sample before washing. Record the chest, body length, sleeve length, collar and placket.
Day 2: Wash and dry the garment using the agreed care conditions.
Day 3: Allow the garment to recover as required, then measure it again. Compare the results with the buyer’s approved tolerance.
Suppose the original measurements were:
| Measurement point | Before wash | After wash | Change |
|---|---|---|---|
| Chest width | 54.0 cm | 53.5 cm | -0.9% |
| Body length | 72.0 cm | 70.2 cm | -2.5% |
| Sleeve length | 23.0 cm | 22.7 cm | -1.3% |
A 2.5% reduction in body length means the garment becomes 1.8 cm shorter after washing. Whether that result passes depends on the buyer’s approved specification. There is no single tolerance that applies to every brand, fabric or product.
1. Confirm every critical measurement
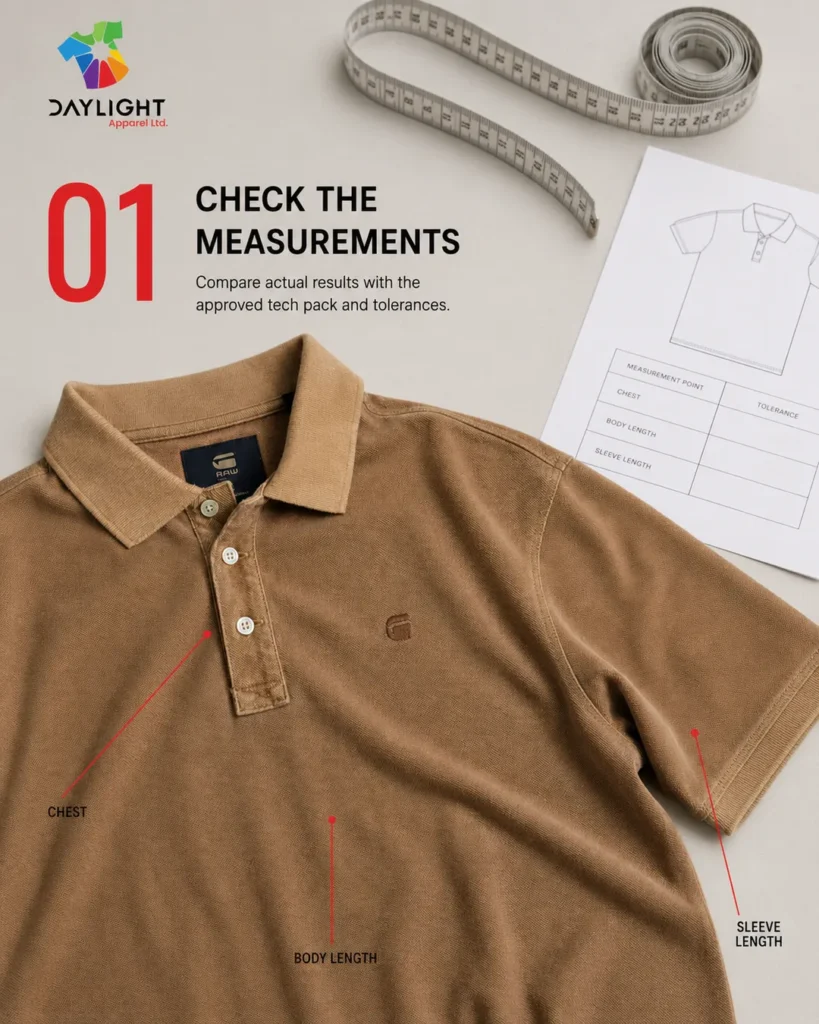
Start the polo shirt sample approval process with the measurement sheet.
Measure the sample on a flat surface using the same method stated in the tech pack. Check the points of measurement carefully because two people can measure the same garment differently if the method is unclear.
Important polo measurements often include:
- Half chest
- Body length
- Shoulder width
- Sleeve length
- Sleeve opening
- Bottom opening
- Collar length and width
- Placket length and width
Do not look only at whether a measurement is “close.” Record the actual result and compare it with the approved tolerance.
For example, a 54 cm chest measurement with a tolerance of ±1 cm creates an acceptable range of 53 to 55 cm. However, that range is only valid if the buyer has approved it.
If the tolerance is missing, ask for confirmation before bulk production begins.
2. Review the collar shape and recovery
The collar is one of the first details a customer notices on a polo shirt.
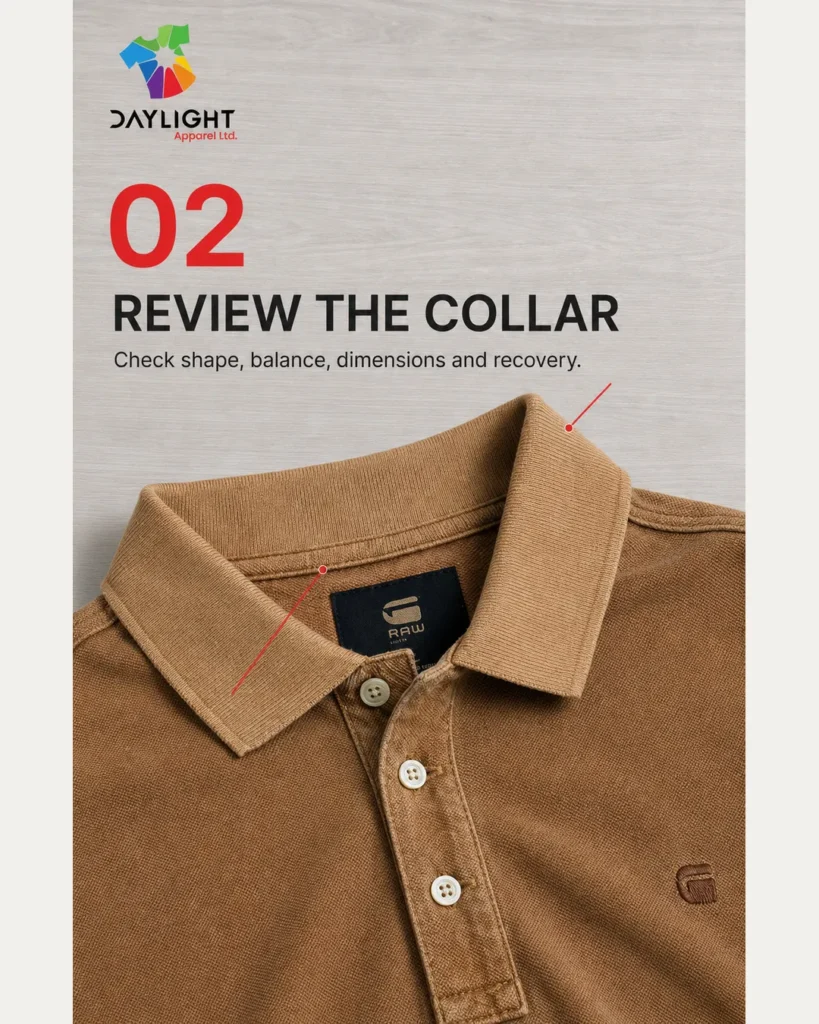
Check whether it sits evenly on both sides. The collar points should be balanced, and the back collar should lie cleanly against the neckline. Also check whether the collar feels too tight, too loose or noticeably heavier than the body fabric.
Next, review collar recovery. Gently extend the collar and check whether it returns to its original shape. Then examine it again after the agreed wash test.
A collar can change because of several factors, including:
- Rib construction
- Yarn and fibre composition
- Knitting tension
- Collar dimensions
- Attachment method
- Washing and drying conditions
Therefore, collar performance should be tested rather than assumed from appearance.
3. Check the placket and button alignment
A small placket problem can make an otherwise well-made polo look unbalanced.
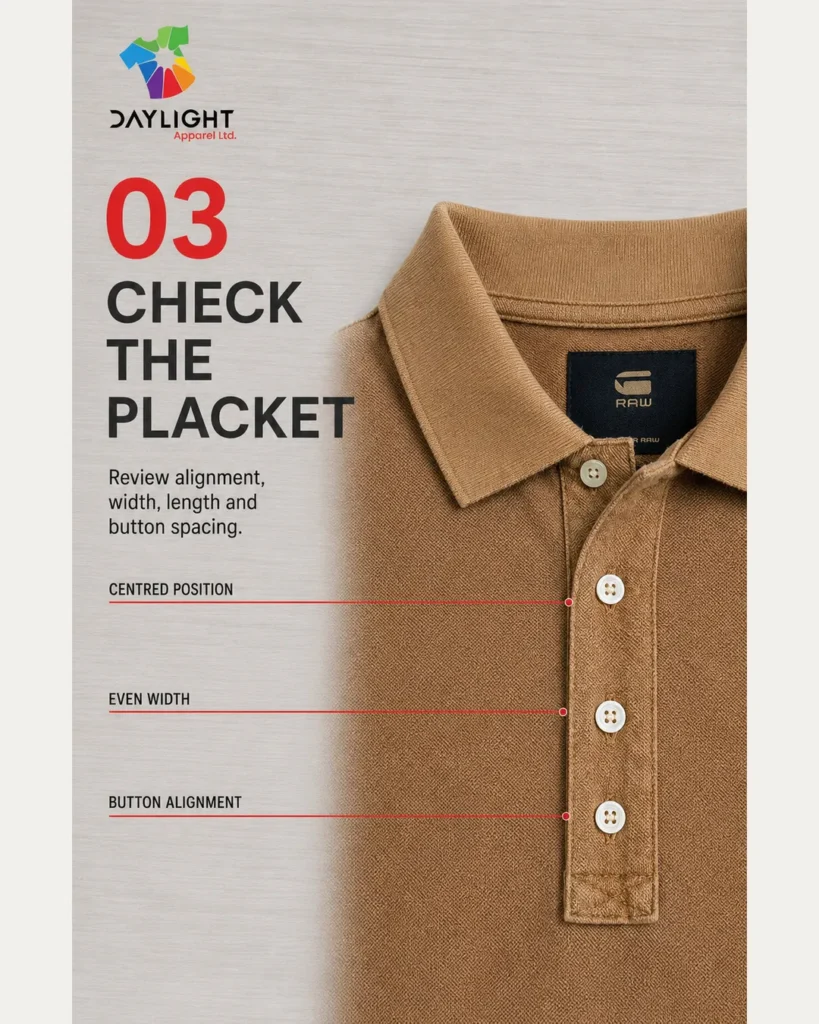
First, check whether the placket is centred on the body. Then confirm that both sides are equal in width and that the bottom corner is neat. The stitching should follow the approved construction without twisting or pulling the fabric.
The button spacing also needs attention. Confirm:
- Number of buttons
- Button size and colour
- Distance between buttons
- Buttonhole direction
- Button attachment
- Placket length
Button placement should match the approved sample and specification. Descriptions such as “standard three-button placket” are not enough because brands may use different proportions.
4. Inspect stitching and seams
Stitching quality should be reviewed from both the outside and inside of the garment.
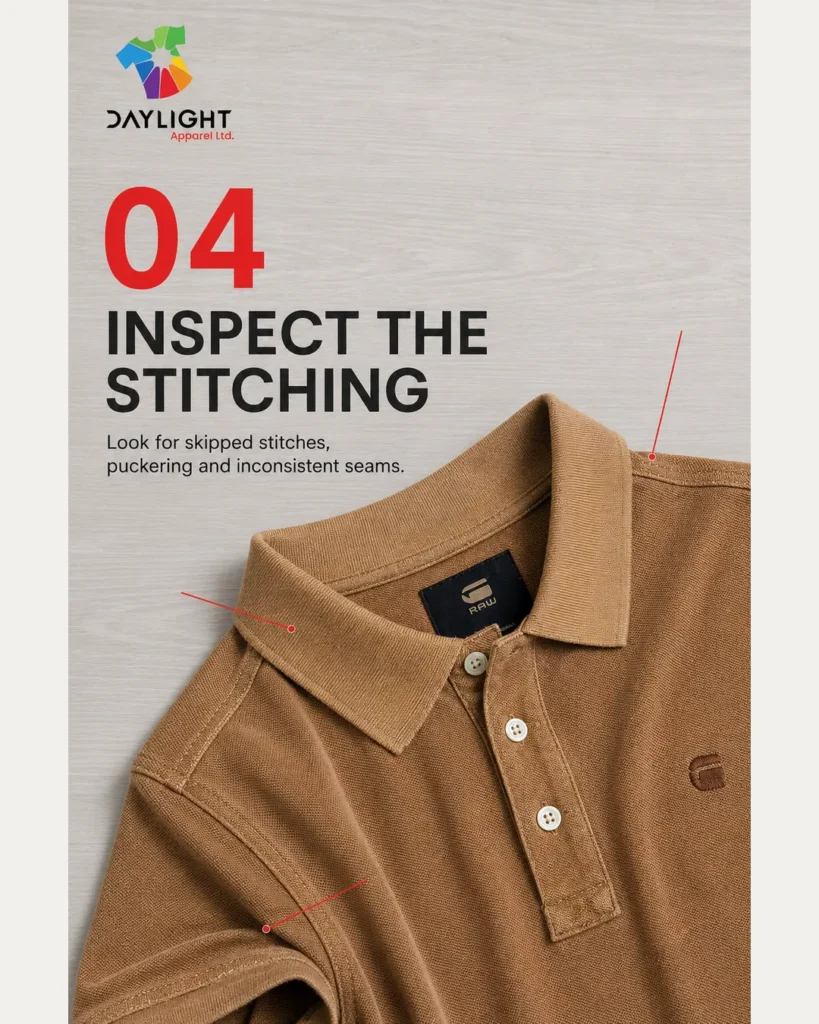
Look for uneven stitch lines, skipped stitches, loose threads, seam puckering and visible tension problems. Pay particular attention to the neckline, shoulder, armhole, side seam, sleeve hem and bottom hem.
However, avoid blaming every sewing issue on thread tension. Seam appearance can also be affected by the needle, thread, machine feed, fabric structure, operator handling and shrinkage.
Useful questions include:
- Is the stitch type correct?
- Is the seam allowance consistent?
- Does the seam lie flat?
- Is there any visible puckering?
- Are reinforcement points secure?
- Does the inside finish match the specification?
The approved sample should make these requirements clear for the production and quality teams.
5. Test shrinkage and dimensional stability
Shrinkage cannot be judged reliably by touching the fabric or checking its GSM.
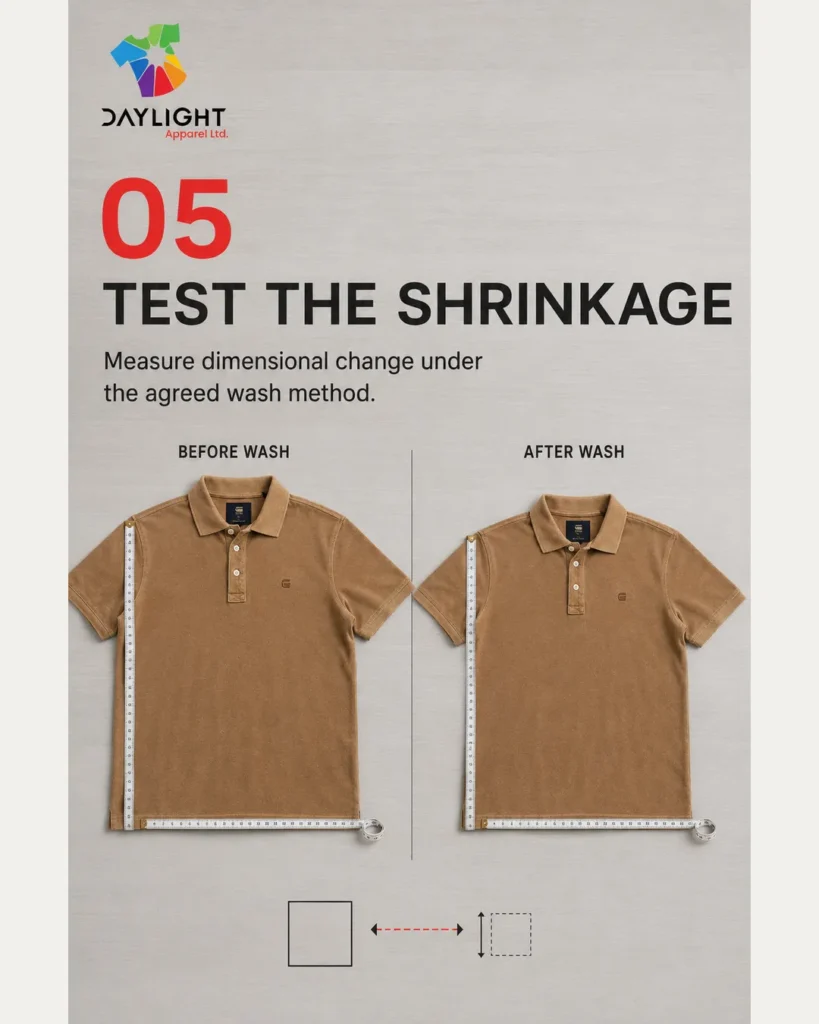
The sample should be measured before and after washing under an agreed test method. AATCC TM150 covers dimensional changes in garments after home laundering. Similarly, ISO 5077 specifies a method for determining dimensional change after washing and drying.
The washing procedure also matters. ISO 6330 defines domestic washing and drying procedures for textile testing.
For a polo shirt, do not check only the body length. Review:
- Chest width
- Body length
- Sleeve length
- Bottom opening
- Collar dimensions
- Placket appearance
- Side-seam twisting
- Overall garment shape
The number of wash cycles, temperature and drying method should come from the buyer’s testing requirements. Changing one of these conditions can change the result.
6. Match the fabric, trims and colour
Sample approval should confirm more than the garment’s construction.
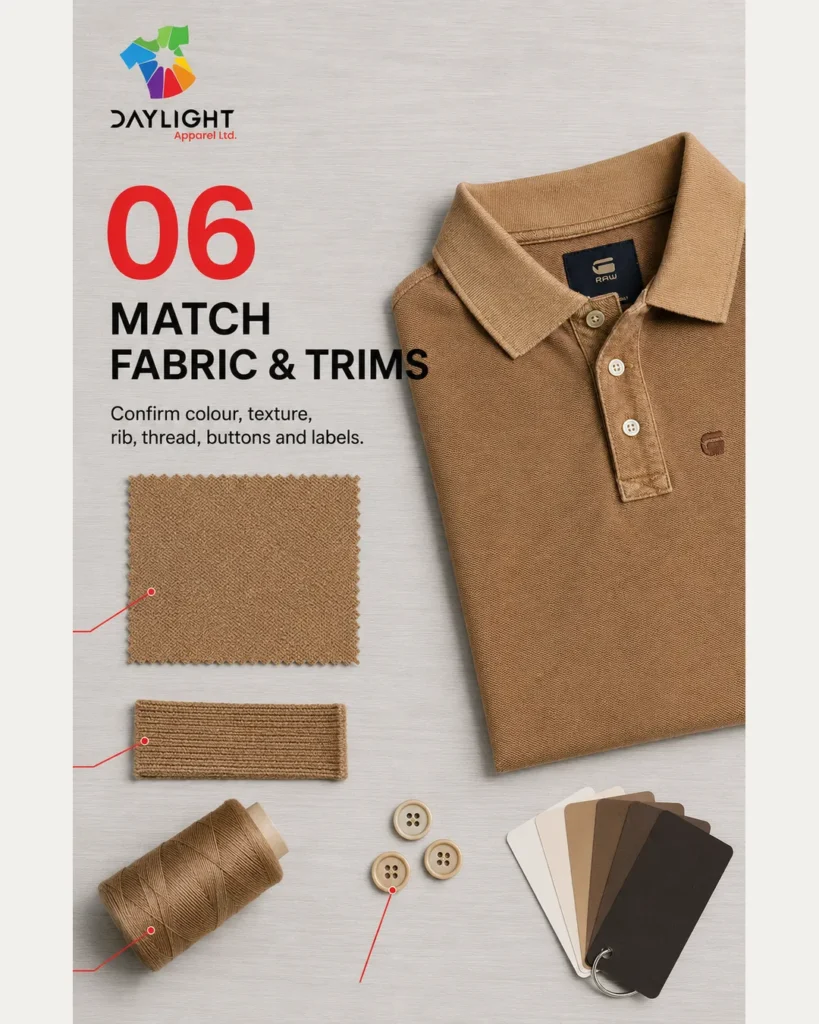
Compare the fabric with the approved reference for composition, weight, texture and colour. If a laboratory dip or shade standard exists, use it during the review.
Next, check the trims:
- Collar and cuff rib
- Sewing thread
- Buttons
- Main label
- Size label
- Care label
- Embroidery or chest detail
- Packaging components
A button may look black in a photograph but still differ from the approved shade or finish. Likewise, a collar can appear close to the body colour under factory lighting but look different in daylight.
For that reason, colour approval should use the agreed physical or digital reference and suitable viewing conditions.
7. Review finishing and prepare the bulk handover
Finally, step back and look at the complete garment.
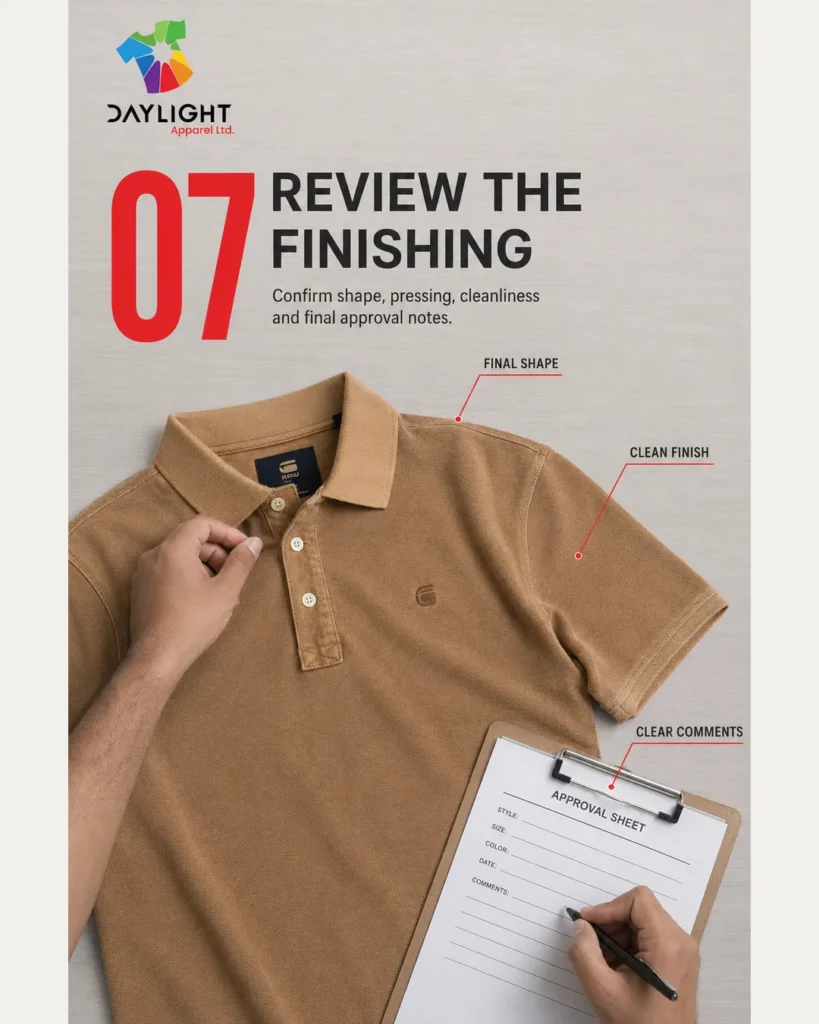
Check whether it hangs evenly. Review the overall shape, pressing, thread trimming, label placement and cleanliness. Make sure the garment does not contain temporary marks, oil spots or avoidable handling damage.
Then document the final decision.
A clear approval record should include:
- Style number
- Colour and size
- Sample type
- Measurement report
- Wash-test result
- Approved fabric and trims
- Photos of important details
- Required corrections
- Approval date
- Name of the person providing approval
If the sample is approved with comments, those comments should be measurable. “Improve the collar” is unclear. “Reduce the collar height by 3 mm and match the approved rib reference” gives the production team a specific action.
Polo sample approval checklist
Use this condensed checklist during your next sample review:
| Review area | What to confirm |
|---|---|
| Measurements | Actual results fall within approved tolerances |
| Collar | Shape, dimensions, attachment and recovery |
| Placket | Position, length, width and button spacing |
| Stitching | Stitch type, seam quality and reinforcement |
| Shrinkage | Before-and-after measurements under an agreed method |
| Materials | Fabric, rib, thread, buttons, labels and colour |
| Finishing | Shape, pressing, cleanliness and final approval notes |
One approved sample, one clear production standard
Good polo shirt sample approval is not about searching for faults. It is about giving the production team a clear and usable standard.
When measurements, construction, wash performance and trims are confirmed before cutting, there is less room for interpretation during bulk production. The buyer also has a documented reference for later quality reviews.
At Daylight Apparel, our focus is to translate approved product specifications into clear production requirements, with attention to construction, measurements and finishing.
Developing polos for your next collection? Share your product requirements with our team.
Frequently Asked Questions
What is a polo shirt approval sample?
A polo shirt approval sample is a garment reviewed by the buyer before bulk production. It confirms the measurements, fabric, trims, construction, colour and finishing requirements.
When should a polo sample be approved?
The sample should be approved after all required corrections and tests are complete, but before bulk cutting or production begins.
Should a polo sample be washed before approval?
Yes, when wash performance is part of the buyer’s requirements. The garment should be measured before and after the specified washing and drying procedure.
What measurements should be checked on a polo sample?
Common points include chest, body length, shoulder, sleeve length, sleeve opening, bottom opening, collar and placket. The exact points must follow the approved tech pack.
Is there one standard shrinkage tolerance for every polo?
No. Acceptable shrinkage depends on the buyer’s specification, fabric, construction, care instruction and testing method.
Can a sample be approved with comments?
Yes, but each comment should be specific and measurable. The factory should confirm that all required changes can be applied consistently in bulk production.